Let's start to understand the ImageAI!!
ImageAI is a fantastic python library that allows users to create it's own computer vision application in a short term. In fact, most features in ImageAI are made up of functions in KERAS and openCV. So from my point of view, understand the source is a great way to learn how those powerful libraries , and artificial intelligence as well.


Although you can install the python package by PIP and trace the source that package included, download the source from the GitHub and test it without PIP install could be a better idea for study and test it. The reason is that we could modify the code or add debug messages in the source. It could break the original functions in the package. So I suggest test it in an isolation environment and use it without PIP install.
Create a new "Evironments" without the imageAI package in ANACONDA
Install the essential for the imageAI
-tensorflow 1.15.0 (PIP3)
-keras 2.3.1 (PIP3)
-opencv 4.0.1 (Anaconda)
-pillow 7.1.2 (PIP3)
-3.1.3 (Anaconda)
ImageAI source structure.

After we unzip the source
file, this is the root folder(ImageAI-master) of the imageAI. The package source is in the sub folder "imageai".

Generally, the sub folders in
"imageai" corresponding to the
functions of the ImageAI
-Object
Detection
-Custom
Object Detection
-Image prediction
-Custom
Image predection
In
fact, we can also refence the package import statements in the related examples that provided by ImageAI. Take the "custom_detection.py" for instance.
We can see the path for the "sub module" and
the corresponding folder

Let's start!!
Now, we are going to run the ImageAI.
Maybe you've found the example
applications in the folder"examples".However
there are some problems when you run the example directly.
1.We
just copy(clone) the imageAI source code, not install the package. In this
case, the application can not find the package unless
the package is in the same folder with the application.
2.lack of the essentials
resource files for he application. Such
as input images, model file or config file...etc
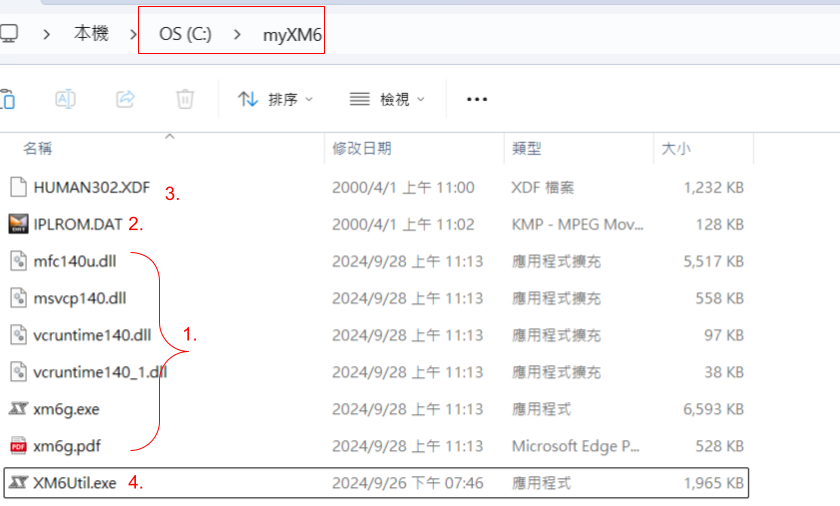
To
test the ImageAI we have to add test files with necessary related
resources(test sample, model...etc).
For
example, we can copy those files in to
the ImageAI root path
-custom_detection.py:
copy
from the "examples" folder
-detection_config.json:
download from
"https://github.com/OlafenwaMoses/ImageAI/releases/download/essential-v4/detection_config.json"
-holoens-ex-60--loss-2.76.h5:
download from
"https://github.com/OlafenwaMoses/ImageAI/releases/download/essential-v4/hololens-ex-60--loss-2.76.h5"
-holo2.jpg:copy from the
"data-images" folders

Ok,
we have already created a test environmental for the ImageAI study.Now
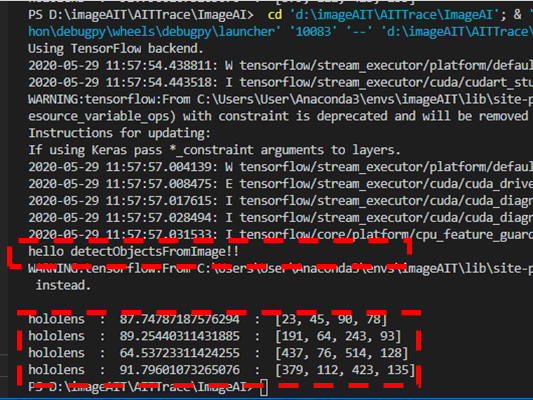
we can add debug messages to test imageAI. Take the " Custom Object
Detection" for example.we
can add a message in the "detectObjectsFromImage()" in the path
Detection/Custom/__init__py

Finally,
After we run the "custom_detection.py", the application output and the
debug message will be displayed.


留言
張貼留言